Path and step lighting
Path and Step Lighting for Sacramento Homes
People miss a stair in the dark more often than they miss a shrub. This work is about moving through the property: the walk from the car, the side gate, the edge of a patio, the change in grade you only notice when you catch it.
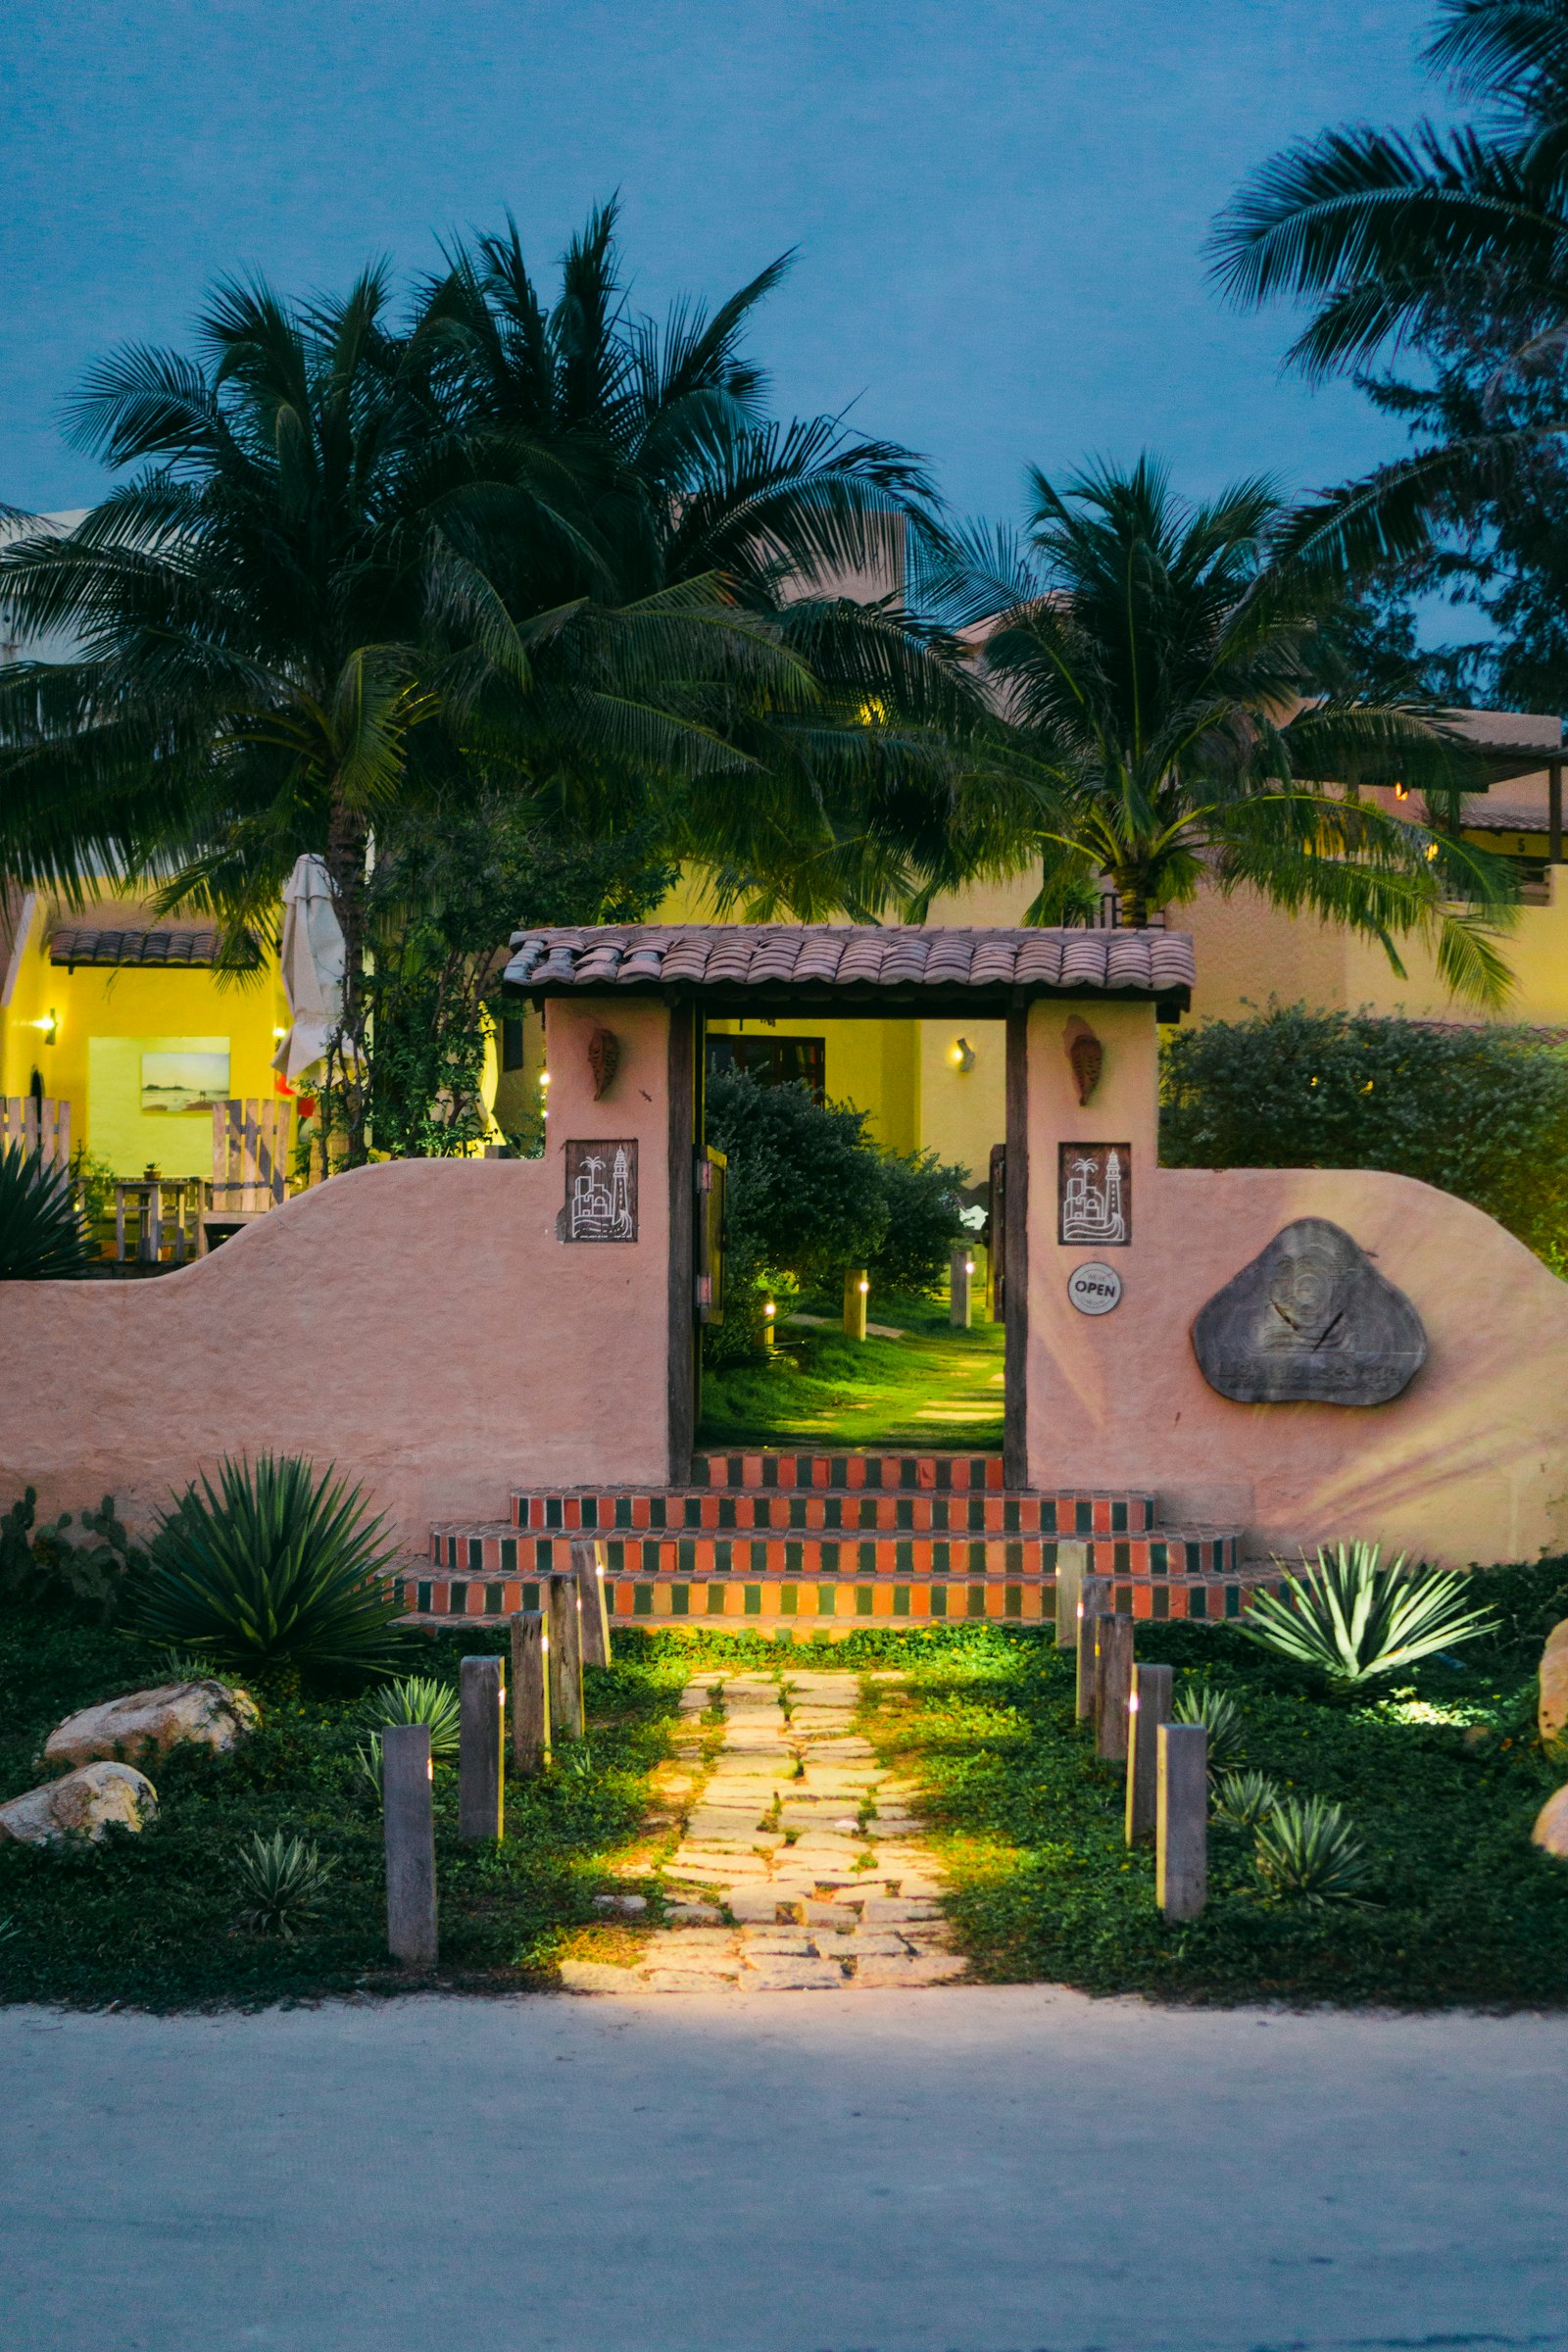
Follow how the household actually walks
A useful path layout starts from the route, not from a row of matching fixtures. Come home after dark and notice where you slow down: a turn that loses the porch light, a step hidden by a shadow, the place where paving becomes gravel or lawn. Those hesitations are better first marks than a tape-measure grid copied from another house.
Identical lights in a tight march down both sides of a walk produce a bright dotted line. That pattern is easy to install and hard to live with. On a straight front walk that already receives light from the house, fixtures can often sit on one side, or farther apart, so the walk does not look like an airport taxiway—unless a formal paired approach is the point of that particular entry.
The walking surface has to be the thing you see
Path lighting fails when the lamp is brighter than the paving. A clear-lens light at knee height aimed at the walker is a glare source. Shielded or louvered fixtures that throw light down onto the walk are usually easier on the eyes. The right height, output, and spacing still depend on the fixture’s distribution, the width of the walk, and how much light already reaches it from a porch or garage.
Manufacturer spacing charts are a first sketch. A short, tightly shielded head often needs to sit closer to the next one than a taller, broader light. The check is the darkest stretch between fixtures on the actual surface—not a number that worked on a different path.
Places the route often needs more care
- The inside of a curve, where the walking line loses light faster
- The last few feet before a stair or a landing
- A side-yard walk with no help from the porch
- Any change from hardscape to lawn, gravel, or decking
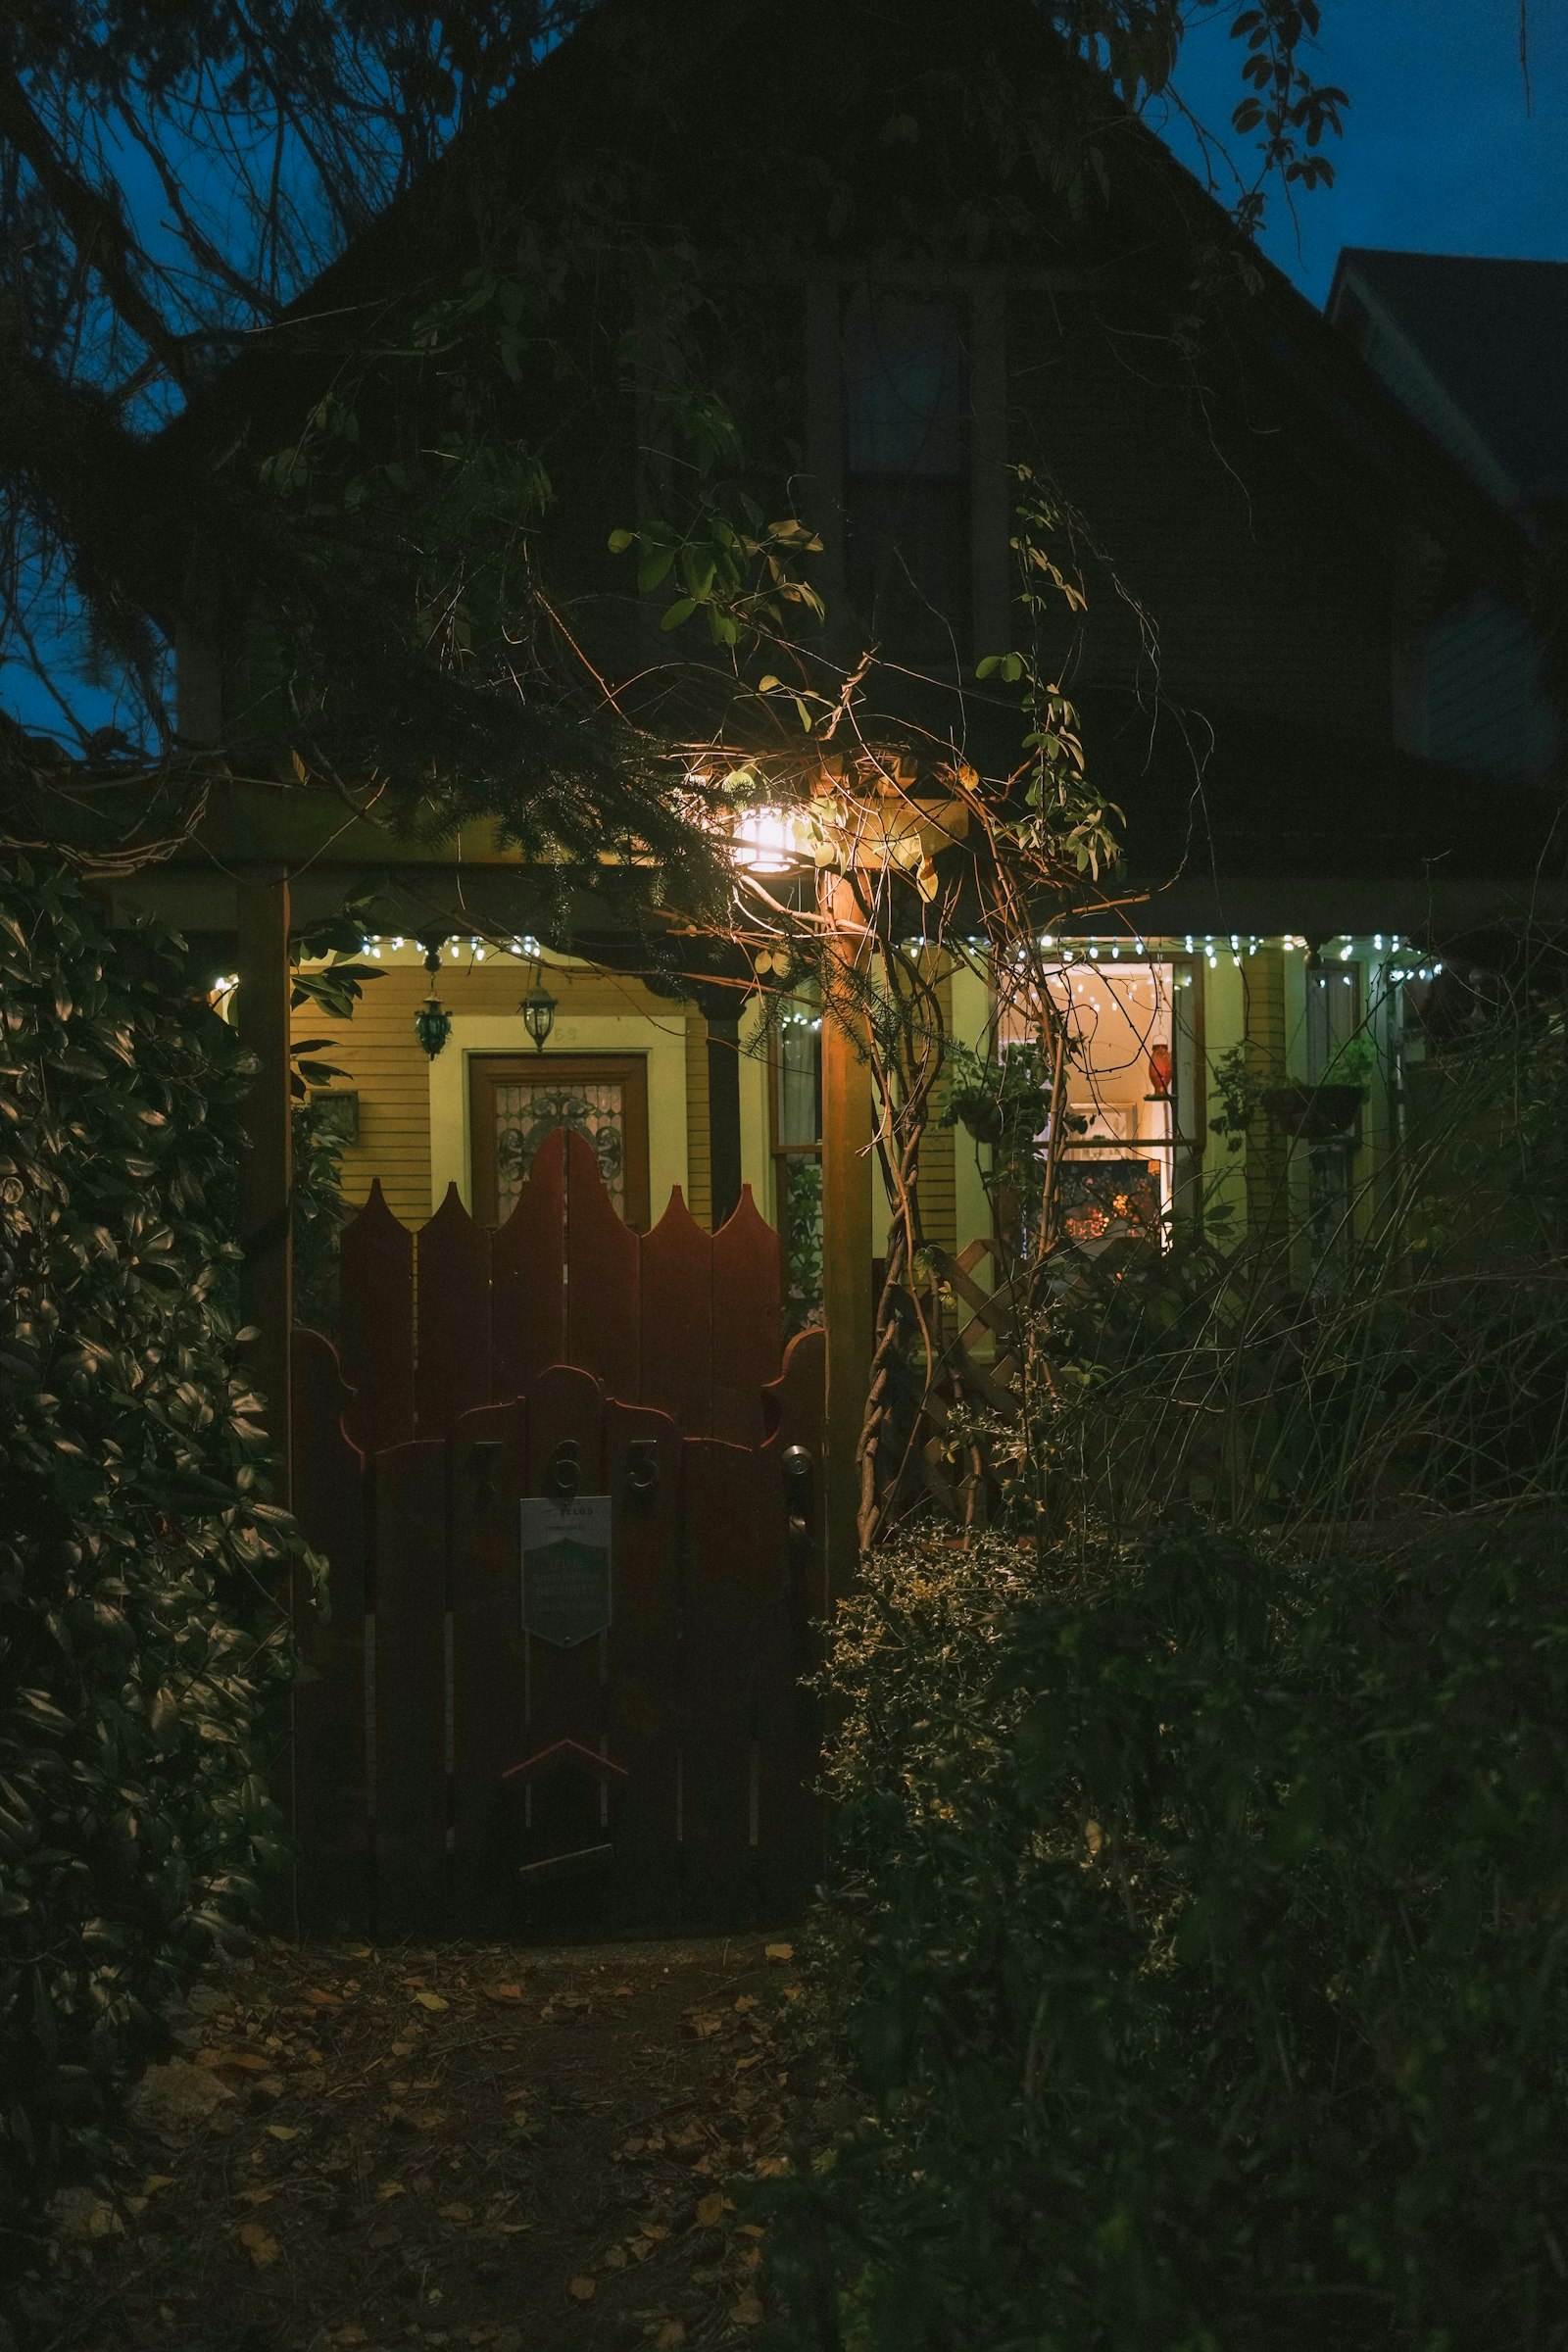
Steps are their own problem
Spill from a path light is not a stair plan. A missed riser is a fall. Recessed lights in a riser, shielded fixtures in a side wall, or a downlight that grazes the treads from above are the usual tools—each chosen for how the stair is built, not as a single preferred product.
Every tread does not always need its own lamp. A short, straight flight can sometimes be read from one well-aimed source if the nosing stays visible. Long runs, turns, and outdoor stairs without a nearby handrail need more attention. Add that light independently of the path rhythm. Do not stretch the last path fixture and hope the steps inherit enough leftover glow.
Color, construction, and a night walk
Warm light usually sits more quietly on brick, stone, concrete, and wood than a cool white. How warm, and how bright, should be judged on that paving. Path lighting is one of the first places a walk gets over-lit because the fixtures are small and “brighter” feels safer. Being able to see the next step is not the same as lighting the whole front yard.
Fixture type follows the construction: path lights in a planting strip, a post-scaled bollard where that height fits, recessed steppers in masonry, linear light only where the detail was built to hide it. Cutting a slot into finished concrete is a different project from setting lights in a bed.
Walk the route at night with the house in its normal evening state. Mark the hesitations. Confirm the midpoint on the paving. Aim again from the driveway, not only from the street. A fixture that looks polite from the curb can still glare when you are walking toward it.
Have a walk or stair that disappears after dark?
Call +1 (916) 927-9161 or email [email protected]. Describe the route—front walk, side yard, patio edge, or a set of outdoor steps.